Ready to Level Up? Let's Begin.
Top 5 Common Felting Mistakes Every Beginner Makes (And How to Fix Them)
Stepping into the world of needle felting is an exciting adventure. But let’s be honest—it can also be fraught with tiny frustrations. If you’ve ever ended up with a broken needle, a fuzzy shape that won’t firm up, or an accidental finger poke, you’ve encountered the common felting mistakes that trip up almost every beginner.
The good news? These errors are completely avoidable. This guide doesn’t just list problems; it provides clear, actionable solutions. By understanding these five common felting mistakes, you’ll save time, materials, and frustration, setting yourself up for a rewarding and enjoyable crafting experience from the very start.
Mistake #1: Choosing the Wrong Starting Point
This is perhaps the most strategic error. Many beginners are drawn to incredibly detailed animal kits or large, complex projects. While inspiring, these advanced kits require skills like 3D sculpting and color layering that can lead to disappointment without a foundation.
The Fix: Build Skills with a Simple Project
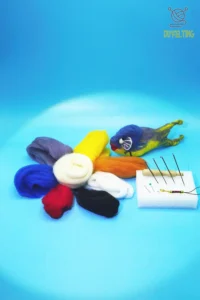
Success starts with the right project. A beginner animal kit, like a simple bunny or sheep, is designed to teach core techniques. Look for kits that feature:
One Main Color: Focuses on mastering shape rather than complex color changes.
Simple 3D Forms: Helps you understand wool compaction from all angles.
Clear Instructions: Illustrated guides or video tutorials are invaluable.
Master the basics of creating a firm, symmetrical shape on a simple project first. This foundational skill is the springboard to more complex creations.
Mistake #2: The Wispy, Under-Felted Project
You’ve shaped your wool, it looks right, but it feels soft and fuzzy to the touch. This is under-felting, and it results in a fragile piece that won’t hold its shape over time.
The Fix: The “Squeeze and Sound” Test
How do you know when you’re done? Use these two foolproof methods:
The Firmness Test: Gently squeeze your project. It should feel solid and dense, like a firm stress ball, with very little give. If it squishes easily, keep felting!
The Sound Check: Listen closely. A well-felted piece will produce a distinct, crisp “chk-chk” sound as the needle penetrates the tightly tangled fibers. A silent, soft poke means more work is needed.
Mistake #3: Breaking Needles Unnecessarily
A broken needle often feels like a rite of passage, but it’s usually a sign of incorrect technique, not a faulty tool. The primary causes are bending the needle (using a digging motion), stabbing too deep into your work surface, or using a fine needle for heavy-duty shaping.
The Fix: Perfect Your Poking Technique
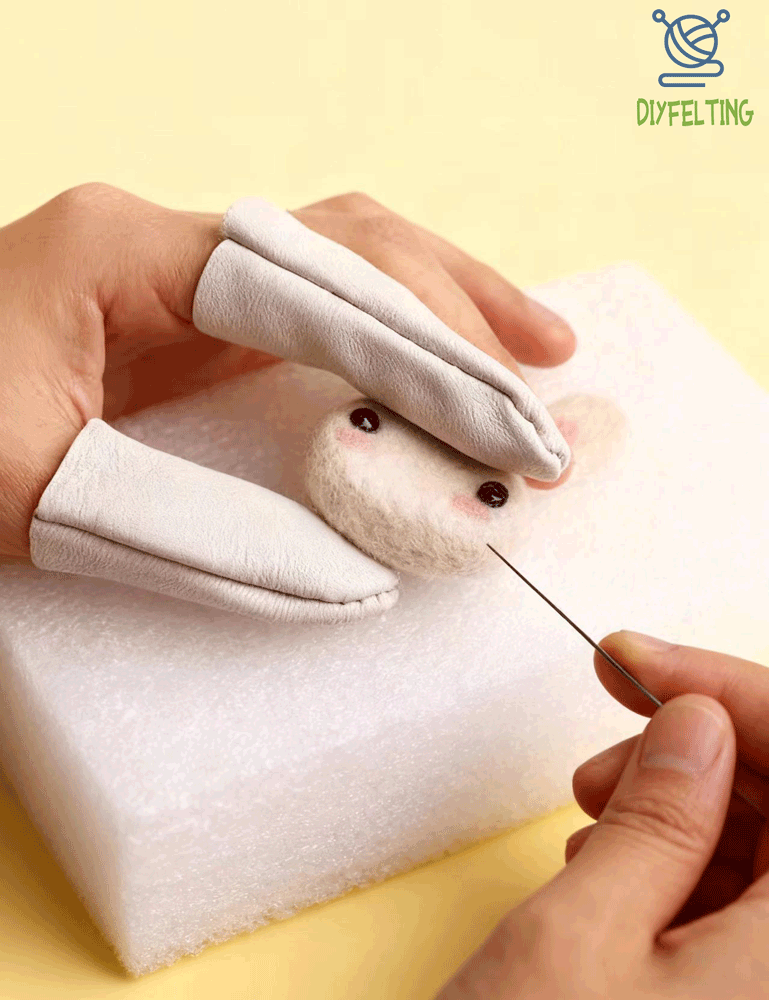
Vertical Motions: Always move the needle straight up and down. Imagine you are tapping the wool, not digging into it.
Use the Right Support: Always work on a high-density foam pad. It catches the needle tip, preventing breaks and protecting your fingers.
Match Needle to Task: Start with a coarse needle (e.g., 36-gauge) for fast shaping. Switch to a medium or fine needle (e.g., 40-gauge) for smoothing and detailing.
Mistake #4: Starting with a Tight, Small Wool Ball
It seems logical to start with a small, dense ball of wool if you want a small finished item. However, this makes the felting process difficult and unsafe. Your fingers are too close to the needle, and the hard core prevents the needle from properly tangling the inner fibers.
The Fix: Start Big, Soft, and Loose
For a perfectly felted shape, always begin with a generous, airy bundle of wool.
Fluff It Up: Gently pull the wool roving apart to create a soft, loose cloud.
Create a Malleable Core: Form a loose ball that is much larger than your desired final size. This gives you plenty of material to compact and allows for easy shaping.
Remember, wool can shrink up to 30% during felting. Starting big ensures you end up with the right size.
Mistake #5: Rushing the Process
Needle felting is not a speed craft. Rushing leads to lumpy, uneven shapes, frustration, and fatigue. The fibers need time to gradually intertwine and lock together.
The Fix: Embrace the Meditative Rhythm
Shift your mindset from “finishing” to “creating.” This is a relaxing, tactile process.
Set the Scene: Put on some music or a podcast to help you settle into a rhythm.
Take Micro-Breaks: Felting for 20-30 minutes at a time helps maintain focus and prevent hand strain.
Celebrate Progress: Acknowledge small victories—”The body is firm!” or “The ears are attached!” This makes the journey enjoyable.
Ready to Practice Without the Pitfalls?
Now that you’re aware of these common felting mistakes, you’re ready to start your first project with confidence. The best way to apply these tips is with a kit designed specifically for beginners.
We recommend our First Time Needle Felting Project – Beginner Animal Kit. This kit is perfectly aligned with everything you’ve learned here. It includes pre-sorted wool for a simple animal like a bunny, the right needles, a high-density foam pad, and easy-to-follow instructions—everything you need to avoid the common felting mistakes and ensure your first creation is a success.
Conclusion: Your Path to Confident Felting
Each project is a learning experience. Armed with these fixes and the right starter kit, you can approach needle felting with confidence, ready to create something beautiful. Remember, every expert felter was once a beginner who learned to navigate these same challenges. Happy felting!